Getting ready to install a fence in Central Utah? A boundary survey is essential to ensure your new fence lands correctly on your property lines. This guide will walk you through every step of the process, ensuring a smooth and hassle-free installation.
1. Understanding Local Regulations
Before you begin your boundary survey, it’s essential to familiarize yourself with Central Utah’s zoning laws and regulations. This knowledge will prevent any legal complications down the road. Each locality may have its own unique set of rules regarding structures on property lines, so make sure you check with your local municipal planning office or zoning authority for the most relevant information. Understanding these regulations can help you avoid costly corrections later.
Furthermore, these laws govern not only where fences can be placed but also their height, material, and even the process of acquiring permits. For newcomers, understanding how these details intersect is crucial. Skipping this step can result in having to demolish an improperly placed fence and start from scratch – an expensive and time-consuming process. Therefore, do your research thoroughly or consult a professional who can guide you through this maze of regulations.
2. Hiring a Professional Surveyor
To ensure accuracy, consider hiring a licensed surveyor. They will provide a detailed map of your property, marking the legal boundaries accurately and avoiding future disputes. A professional boundary survey is more than just marking out lines; it involves interpreting land deeds, historical records, and geographical data to establish the legal dimensions of your property.
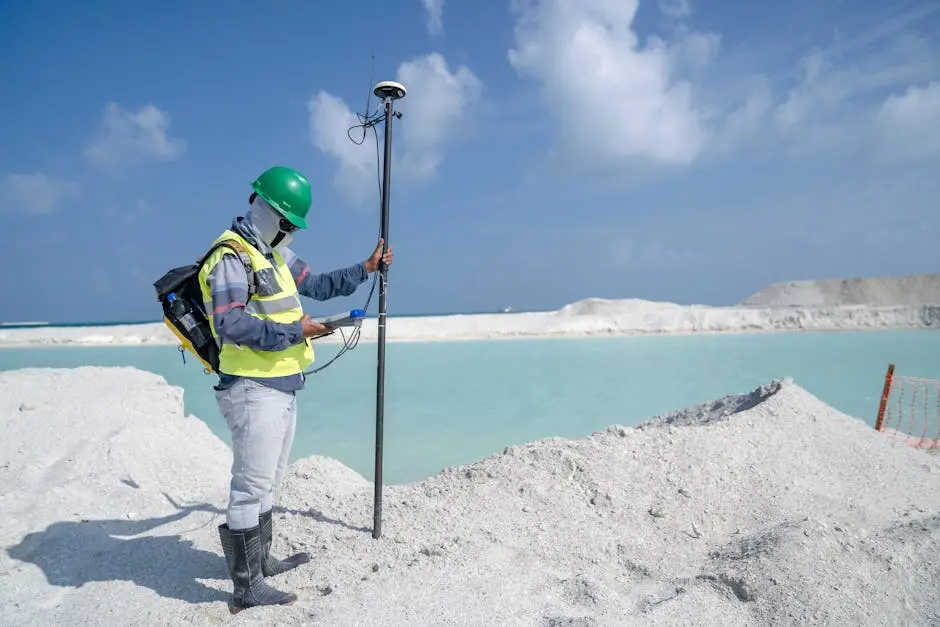
Professional surveyors utilize the latest technology to measure the land’s boundaries with precision. Relying on their expertise means fewer worries about potential encroachments. This step involved professionals checking legal descriptions and using sophisticated tools to identify the perimeter accurately. Embarking on a project without their select skillset could mean dealing with issues like conflicting ownership rights, which could land you in a courtroom rather than in the confines of your own fenced yard.
3. Gathering Necessary Documents
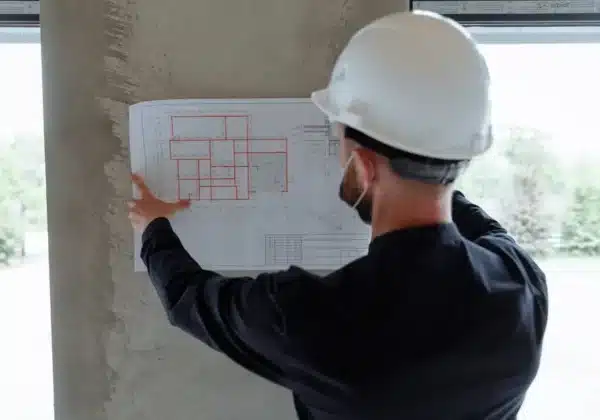
Collect all relevant documents such as property deeds, previously conducted surveys, and plats. This paperwork will be invaluable for cross-referencing during the survey. These documents contain critical information about property lines, rights-of-way, and easements that could impact where you can build your fence. Without this step, you might overlook minor, legally significant details that could cause disputes.
By preparing these documents ahead of time, you’ll be better equipped when meeting with surveyors. This prep work not only speeds up the process but also reveals any discrepancies in property lines that may need addressing prior to installation. Be sure to check for any existing covenants or restrictions in your community that pertain to fence installations, as ignoring these can result in unforeseen penalties.
4. Visiting the Site
Walk the perimeter of your property with your surveyor. This will help identify visible markers and any potential encroachments before the survey begins. It’s important to have a clear understanding of any obvious boundary markers or landmarks currently in place. These can include natural features like trees or streams and man-made elements like walls or old fences.
During this visit, take note of any modifications or construction that might have altered the landscape since the last survey was conducted. This hands-on assessment provides a visual overview and helps in spotting areas that the surveyor’s reports indicate as shared or contested spaces. Observing the property firsthand not only reassures the property owner but also gives surveyors context they may not obtain from documents alone.
5. Marking the Boundaries
Once the surveyor confirms the property lines, it’s time to mark them. Use stakes or flags to clearly show the boundary lines for easy reference during fence installation. These markers act as guides, ensuring that your new fence follows the official boundaries without error. A common method involves placing brightly colored stakes along the line, which remain visible throughout the construction process.
While this step might seem straightforward, it’s imperative that the markers are securely placed and easily visible to avoid accidental intrusions. Incorrect marking can lead to the placement of a fence on an incorrect line, potentially sparking contentious discussions with neighbors. By systematically marking your property lines, you create a physical map that helps everyone involved stay informed and aligned, quite literally.
6. Double-Checking Measurements
Before anything permanent is installed, double-check the measurements to ensure everything aligns with the surveyor’s findings. It’s better to address discrepancies now than after the fence is up! The accuracy at this stage is crucial, as even minor deviations can have costly implications later on.
Use tools like measuring tapes or laser distance measurers to confirm each segment of the fence aligns with the projected boundaries. This assurance provides you and your neighbor peace of mind, knowing that the placement is both fair and lawful. Moreover, double-checking creates an opportunity to verify that potential obstacles like trees or underground utilities have been adequately considered. At this point, proposing any necessary adjustments has the least impact in terms of additional cost or effort.
7. Communicating with Neighbors
It’s wise to inform your neighbors about the upcoming fence installation and boundary survey. This communication can prevent misunderstandings and pave the way for amicable relationships. Often, neighbors appreciate the gesture and it opens doors for discussion on shared boundary maintenance, leading to potential cost sharing or design input.
Address their concerns and be transparent about the timeline and any disruptions the installation might cause. Such conversations can support community harmony and prevent conflicts over privacy or accessibility. Involving neighbors in the process preempts potential objections and ensures everyone’s needs are accounted for, encouraging a spirit of collaboration and mutual respect that benefits all parties. Clear dialogue can go a long way in maintaining peaceful coexistence.
8. Preparing for the Fence Installation
Based on your survey results, you can now plan the most efficient and effective way to install your fence. This step sets the foundation for a secure installation. Factors to consider include choosing materials suited to the local climate, deciding on the height, and determining any aesthetic features that might complement your home.
Armed with a detailed plan, you’ll be able to make precise adjustments in the design according to the land’s contour. Consider advice from fence supply experts or consult with installation professionals if in doubt. Ensure that your planning accounts for potential obstructions like trees or rock formations that could complicate the installation process. Proper preparation paves the way for resilience and endurance against the elements and improves the overall quality of the finished product—your new fence. Solidify your preparations by considering all these factors collectively.
9. Acquiring Permits and Approvals
Check if you need any permits or approvals for your fence installation. Acquiring these in advance can save you a lot of hassle and possible fines. Each jurisdiction has different requirements, and failing to secure the necessary permissions can halt your project unexpectedly.
Visit your local government’s website or contact the zoning office to understand what is required. This might include inspections and compliance with environmental regulations, particularly if the installation involves soil excavation. Gathering this information ensures compliance with local law and can protect you from potential legal action. Remember, proper documentation is key to a smooth installation process and building rapport with your community.
10. Scheduling the Installation
With everything in place, it’s time to schedule your fence installation! Make sure the contractor is aligned with the marked boundaries and permits. Scheduling requires coordination between surveyors, fencing experts, and any other professional services involved.
Consult with your contractor to outline the project timeline, ensuring they have all the necessary information about boundaries and local regulations. Clear scheduling allows contractors to allocate the best resources and personnel for your project, minimizing delays. A well-planned schedule will enable you to enjoy your new fence sooner rather than later, with less uncertainty and stress throughout the project.


